
Good monday everyone!
We will be starting off this post with some work of Simon. As the Shadermagician and Feedbackwizard on duty he improved the special coin a little further. The coins now all have some additional “juice” to them, as in a small burst effect when being collected. The special coin does have a very similar effect, just a bit bigger. But see for yourself:

As the players have to face some obstacles, Niko worked on concepting some of the death areas. Usually we like to have them represented by dangerous objects and such, but as the sizes of the areas vary a lot, this has proven difficult. Thus Niko sketched an idea for a more generic death area:

These little bots are part of a red force field that generates a deadly zone for players. They will be patrolling the area. Although being still at a concept stage, this is what it could look like:

Nora and Simon have also been working closely together with the player animations. As Morph-targets prove a bit too difficult, sometimes even impossible combined with bone-animations, we now have a shader solution for the players deaths.

Given a very short timeframe for players deaths, the animation has to be played back very quickly. The players remain as a puddle and can be revived.
Speaking of reviving and animations, Nora created some reviving and being-revived states for the characters. Rika implemented the new animations and the characters now “summon” the remaining character when the revive process is started:

And another version for the big version of them. Note how the player also gains color during the process, emphasizing the reviving action just a bit more.

Also Rika and Simon integrated a particle manager, so that every surface can be given a type. From that type selection the particles that emit from characters walking on it change according to the type of surface. Snow is emitted on the icy surfaces, dirt on the forest surface and so on.

Niko also created some of the toggles, levers and buttons whilst Mic was responsible for implementing them. The interactive objects have animations that are now tied to player actions.

Putting our masterminds together, Mic and Simon made progress creating an outline shader for interactable objects. They should be highlighted as soon as they come into range of the players reach. Since I am not the brightest star in coding, the guys explained the shader to me and made this little GIF:

I am still pretty amazed how this obviously cheated trick is apparently the most common way to make outline shaders, also in Unity. I’ve been recognizing this now in various videogames, Borderlands for example. Although we are a smallish indie co op platformer game for PC, these AAA-tricks are also part of our game.
Anyways, after evaluating the code and implementing it for some performance testing, we decided to buy a shader sytem for that from the asset store.
We can only recommend browsing the asset store when working on your project. Some of the plugins are very very nice and also most of them come at a very reasonable price. A dev’s gotta eat, too. Paying 15 bucks for an asset that might save you a day from work is super cheap.
Our gamedesign department has also been pretty busy. Beff, Oli and Matt are finalizing the canyon levels and playtesting them with the other people from the team. Making those levels ready for art integration is the next step and they’re almost done.
For improved camera control, Mic has integrated an new feature that has been implemented in the already finished levels. So the GD guys have been polishing the camera movement for the levels to get a more dynamic feel. Especially with different resolutions that’s a real challenge.
Last but not least we have some further images from the tutorial levels by Elena. The look goes in a more abstract and set back direction. With a bit of typography on the walls as decoration and naming, the levels will be easy to “read” and understand.
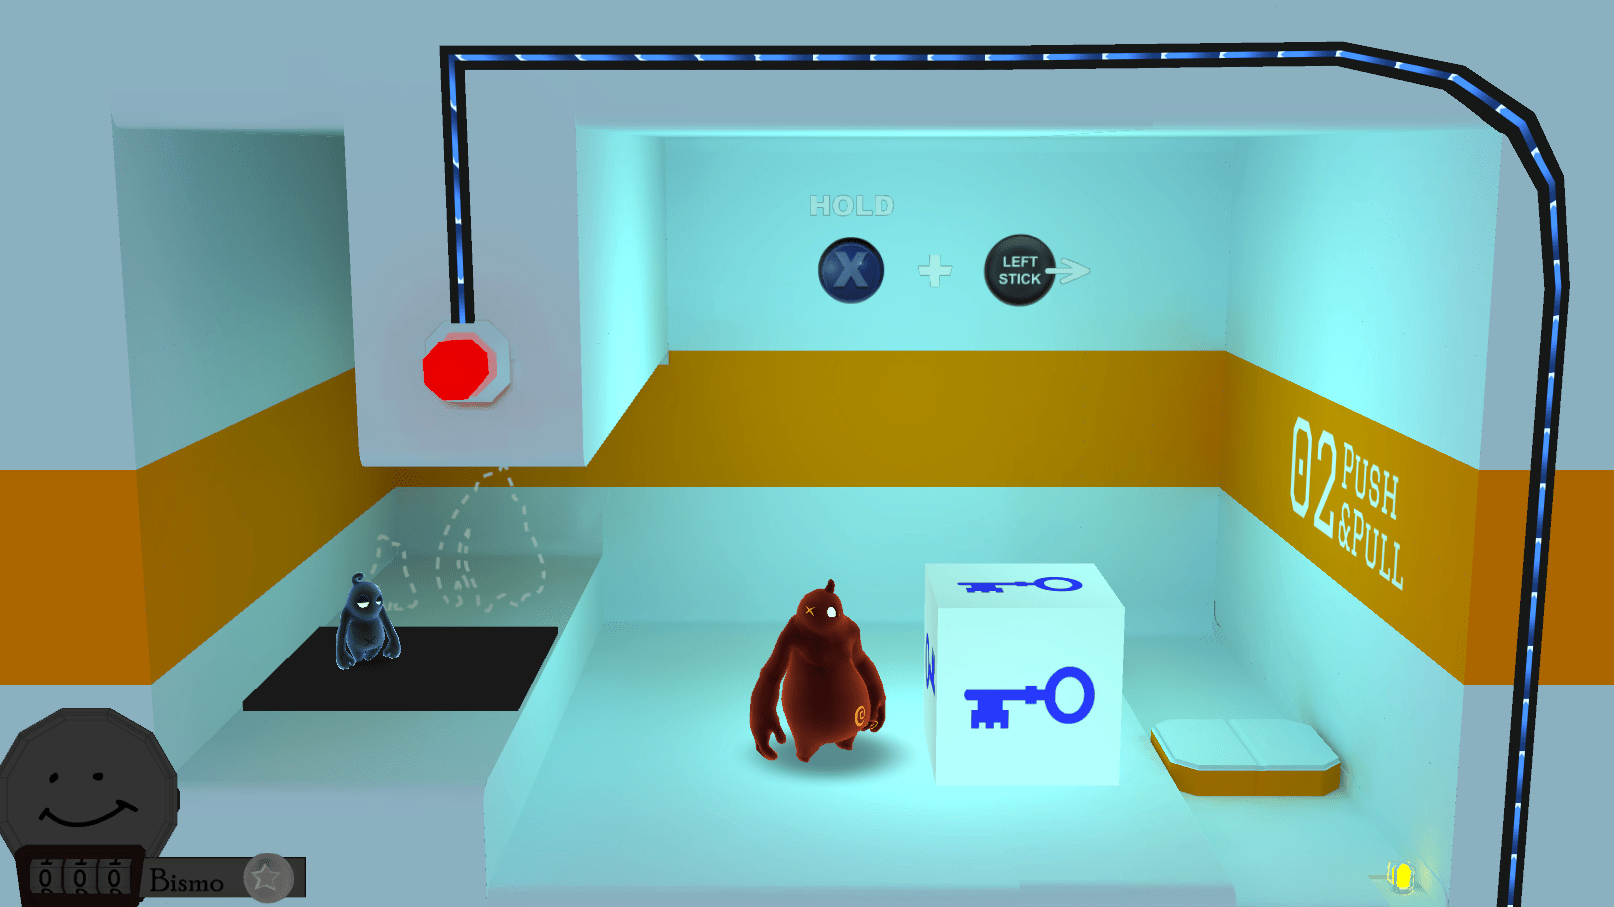
We do not want to create distraction from the actual tutorial, which is why there is not much happening visually.

Finally, I have been able to contribute again to the process of our game. Sometimes the publicity and commuication does not feel like “real” work as your results are not that visible. but here I present to you: Pipes!

They are going to be used in the background and as platforms for the training levels.
And with these pictures you are released into the rest of the week! Have a good one and share your thoughts :)

